
Updating your Minecraft world and server ensures you have access to the latest features, fixes, and improvements. Whether you’re playing solo or managing a multiplayer server, keeping your game up to date is crucial for the best experience. This guide covers everything from how to update a Minecraft world to how to update Spigot server and more.
Can You Update a Minecraft World to a New Version?
Yes, you can update a Minecraft world to a new version. However, it’s essential to follow the correct steps to avoid data loss or corruption. Here’s a step-by-step guide to help you through the process:
- Backup Your World: Before updating, always create a backup of your world. This ensures you have a restore point if anything goes wrong.
- Update Minecraft: Open the Minecraft Launcher, go to the “Installations” tab, create a new installation with the latest version, and click “Play” to download and install the update.
- Open Your World: After updating, open your world in the new version. Minecraft will automatically convert it to the latest version format.
How to Update Your Minecraft Server
Updating your Minecraft server is essential for maintaining compatibility and accessing new features. Here’s how to update your Minecraft server:
- Backup Your Server: Before making any changes, backup your server files.
- Download the Latest Server Version: Visit the official Minecraft website and download the latest server version.
- Replace Old Server Files: Replace the old server files with the new ones you downloaded, except for your world files and essential configurations.
- Update Configurations: Update your server’s configuration files if necessary.
- Restart the Server: Restart your server using the updated files.
How to Update Spigot Server
Updating a Spigot server is similar to updating a standard Minecraft server. Here’s how to do it:
- Backup Your Server: Always start by backing up your server files.
- Download the Latest Spigot Build: Visit the SpigotMC website and download the latest build tools.
- Build the Latest Spigot Version: Use the build tools to create the latest Spigot version jar file.
- Replace the Old Spigot Jar: Replace your old Spigot jar file with the new one.
- Update Plugins: Ensure all your plugins are compatible with the new Spigot version and update them if necessary.
- Restart the Server: Start your server with the new Spigot jar file.
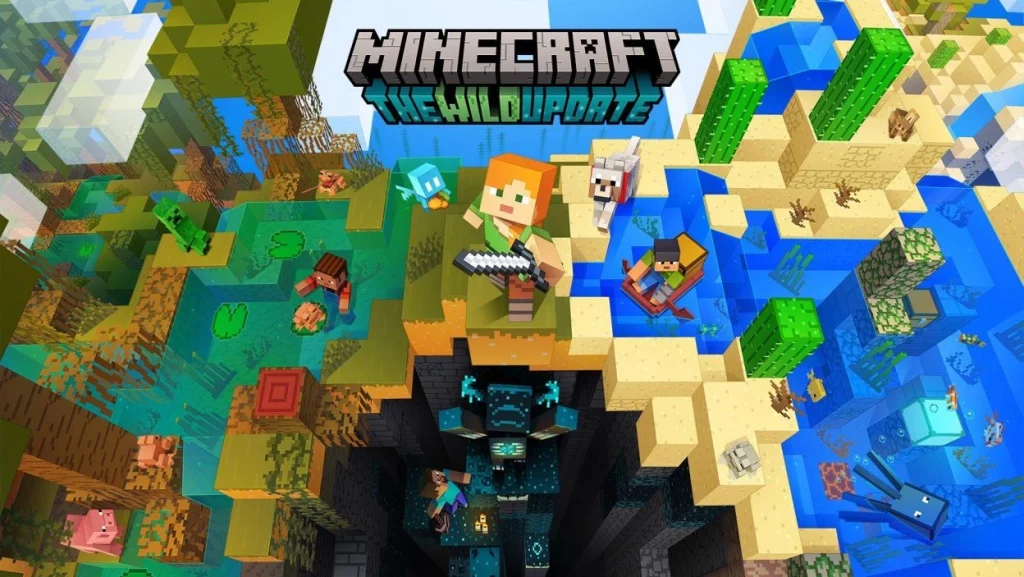
Minecraft Wild Update
The Wild Update is one of the exciting updates in Minecraft, bringing new biomes, mobs, and features. Here’s how to make sure your server is ready for the Wild Update:
- Check for Compatibility: Ensure your server software supports the Wild Update.
- Backup Your Server: As always, backup your server files before updating.
- Update to the Wild Update: Follow the steps outlined above to update your server to the version that includes the Wild Update.
- Explore the New Features: Once updated, explore the new biomes and features introduced in the Wild Update.
How to Change Minecraft Version
If you need to switch between different Minecraft versions, here’s how you can do it:
- Open Minecraft Launcher: Launch the Minecraft Launcher on your computer.
- Go to Installations: Click on the “Installations” tab.
- Create a New Installation: Click “New” to create a new installation.
- Select the Version: Choose the desired version from the dropdown menu.
- Save and Play: Save the new installation and click “Play” to switch to the selected version.
Conclusion
Updating your Minecraft world and server to the latest version is crucial for accessing new content and maintaining a smooth gaming experience. Whether you’re updating to the latest general version or the Wild Update, following the steps outlined in this guide will help you achieve a seamless transition. Always remember to backup your files before making any changes to prevent data loss.
Stay updated, and enjoy your enhanced Minecraft adventures!