
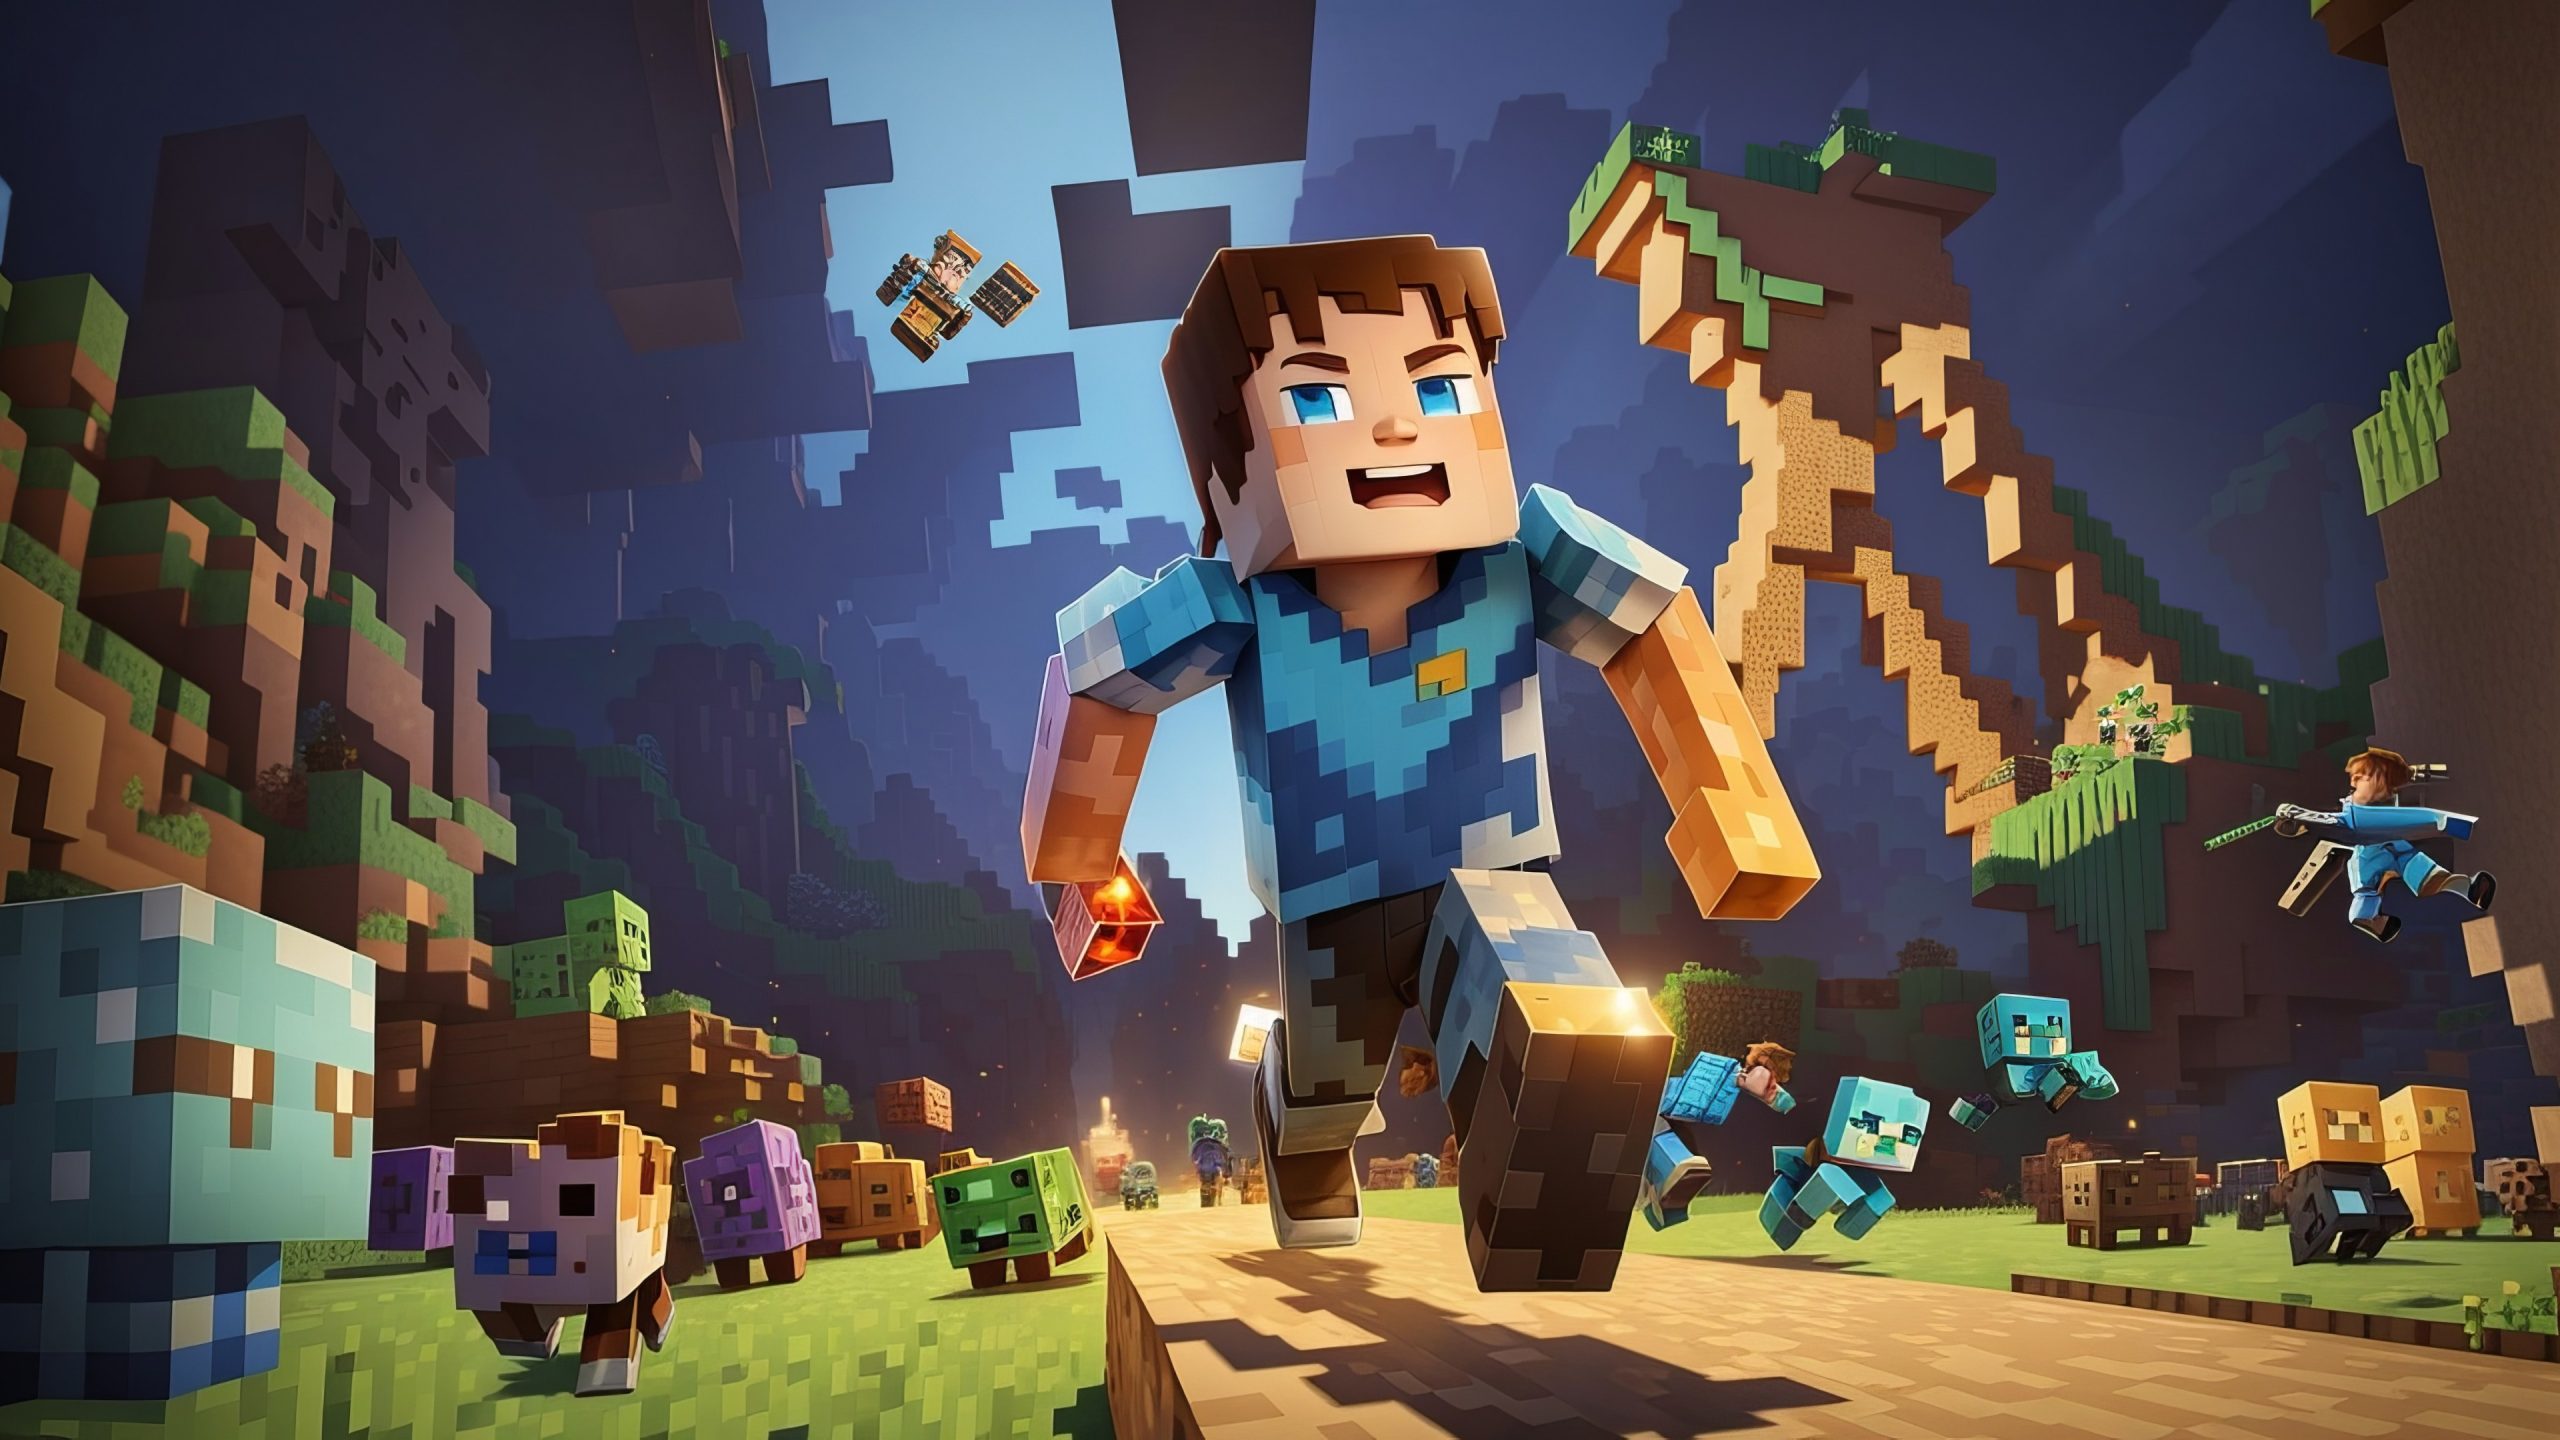
Updating your Minecraft world to a new version can bring exciting new features, bug fixes, and improvements. However, it’s essential to follow the correct steps to ensure a smooth transition without losing any of your hard work. This guide will walk you through how to change Minecraft versions, update a Minecraft server, and switch between different versions of Minecraft.
Why Update Your Minecraft World?
Updating your Minecraft world to the latest version ensures you have access to the newest content, including new biomes, mobs, items, and game mechanics. It also helps keep your game secure with the latest patches and fixes.
How to Change Minecraft Versions
- Open the Minecraft Launcher: Start by opening the Minecraft Launcher on your computer.
- Select the Profile: Click on the profile you want to change the version for. If you don’t have a specific profile, you can create a new one.
- Edit Profile Settings: Click the “Installations” tab, then click the “New” button to create a new installation.
- Select Version: Under “Version,” select the Minecraft version you want to play. You can choose from the latest release or any previous versions available.
- Save and Play: Click “Create” to save the profile, then select the new profile from the dropdown list and click “Play.”
How to Switch Versions of Minecraft
If you want to switch back to an older version or try out a beta version, you can follow the same steps as above. Just select the desired version from the dropdown list in the profile settings. This flexibility allows you to experience different updates and gameplay mechanics.
How to Update a Minecraft Server
Updating a Minecraft server to the latest version involves a few more steps, but it’s equally straightforward. Here’s how to update a server in Minecraft:
- Backup Your Server: Before making any changes, always back up your server files to avoid data loss.
- Download the Latest Server Software: Go to the official Minecraft website and download the latest version of the server software.
- Replace Old Files: Replace your current server files with the new ones you just downloaded. Make sure to keep your world files and any essential configurations.
- Update Configurations: Review and update your server’s configuration files if needed. This may include adjusting settings to accommodate new features.
- Restart the Server: Start your server using the updated files. Your server should now run the latest Minecraft version.
How to Update Minecraft Server to Latest Version
To update your Minecraft server to the latest version, follow the steps mentioned above. Always ensure you have a backup before making changes to prevent any potential issues.
Tips for a Smooth Update
- Check Plugin Compatibility: If you use plugins, ensure they are compatible with the new Minecraft version to avoid any conflicts.
- Read Patch Notes: Familiarize yourself with the changes in the latest update by reading the official patch notes.
- Test in a Safe Environment: Before updating your main server, test the new version in a separate environment to ensure everything works correctly.
Conclusion
Updating your Minecraft world and server to a new version can enhance your gaming experience with new features and improvements. By following the steps outlined in this guide, you can easily change Minecraft versions, switch between different versions, and keep your server up-to-date. Happy gaming!